
A home office for a designer should follow the work rather than a generic desk photo. Start with the task that takes the most focused time. Put its screen and input tools in the primary zone. Keep sketching, reference, review, and storage functions nearby without crowding that zone.
The setup does not need to look like a studio to work well. Build on the basics in the essential home office guide. Then adapt the layout to the mouse, keyboard, graphics tablet, paper, camera, or other tools you actually use.
Build a Home Office for a Designer Around the Main Task
List the recurring activities before moving furniture. A visual designer may spend long blocks in a graphics application. Later, the same desk may support notes, reference material, calls, or hand sketching. Give the highest-frequency activity the straightest viewing and reach path.
CCOHS specifically recommends considering the job tasks and input devices, including graphics tablets and CAD/CAM tools, when selecting office furniture. That task-first approach also matches the most-used-tools reach guide. It prevents every part of the desk from competing for equal priority.
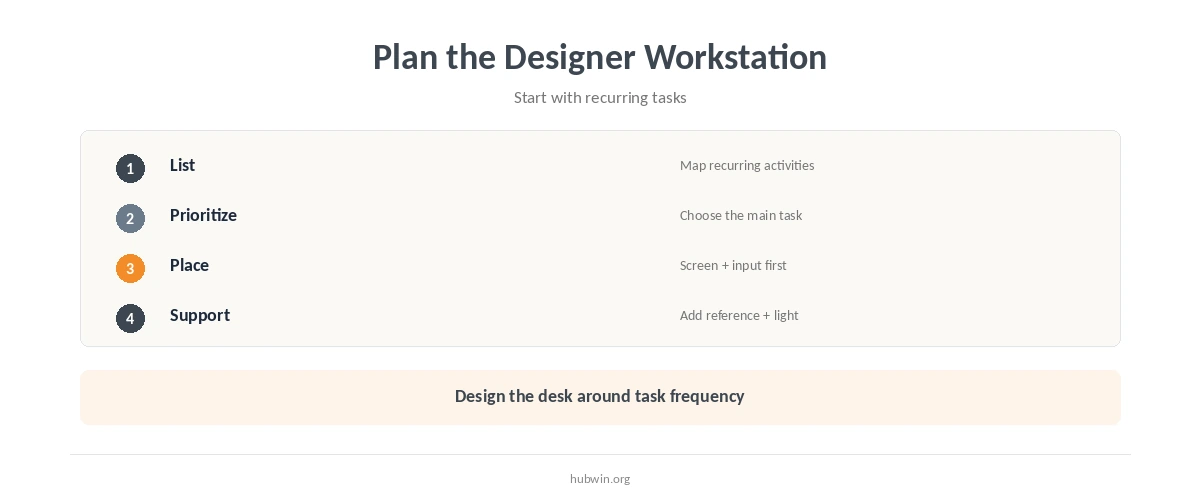
Give the Primary Screen a Clear Viewing Position
In a home office for a designer, put the screen used for detailed work directly in front of the main seated position. CCOHS says monitor placement should account for viewing angle and distance. OSHA also recommends enough distance to read the screen with an upright head and torso. Treat those values as starting points. Adjust text size and interface scaling so you do not need to lean toward the display.
If you use two displays, decide whether they are equal partners or whether one is clearly primary. The dual-monitor ergonomics guide and monitor layout guide cover primary-screen placement. Center the display you use most instead of centering the seam by habit.
Keep Input Tools on One Comfortable Work Plane
Keyboard, mouse, pen tablet, and shortcut devices compete for the same near-desk area. Put the device used for the current task closest to the body and move secondary controls outward. If a large tablet pushes the keyboard too far away, change the arrangement instead of accepting a long reach.
Use the keyboard and mouse placement guide as the base geometry. If a laptop is part of the system, separate its screen from the main inputs when useful. The external keyboard and mouse guide explains that approach in more detail.
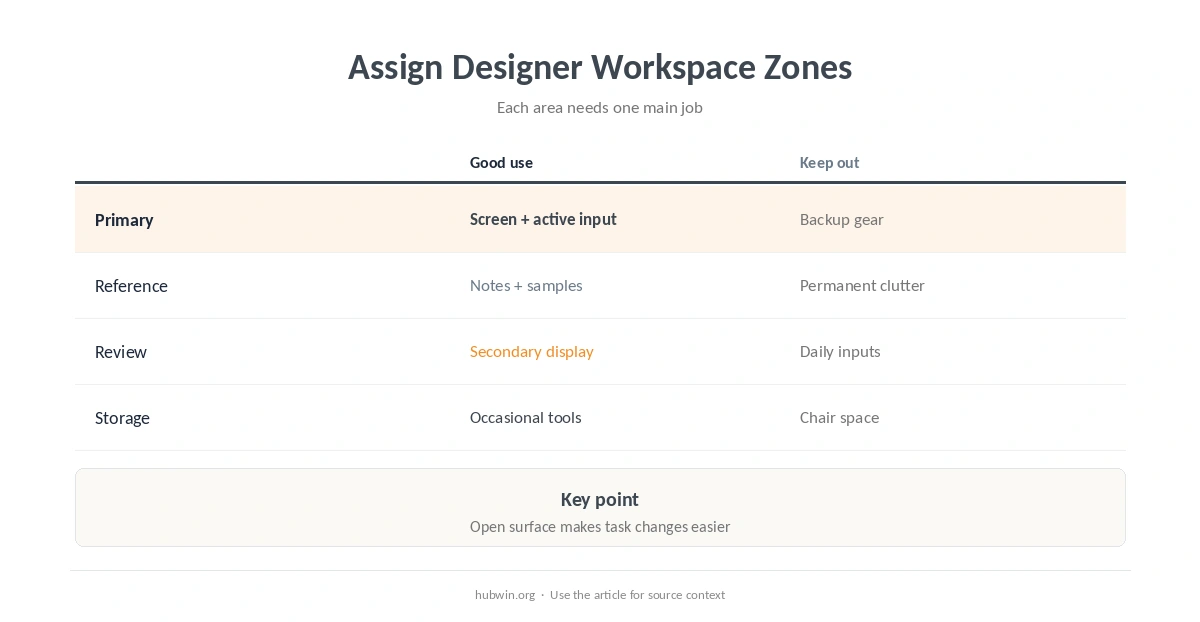
| Zone | Good use | Keep out |
|---|---|---|
| Primary creation | Main screen + active input | Backup gear |
| Reference | Notebook, swatches, documents | Permanent clutter |
| Review | Secondary screen or print checks | Daily input devices |
| Storage | Cables, media, occasional tools | Chair movement |
Use Lighting for the Task, Not for the Room Photo
A screen creates its own light, while paper, sketches, and physical samples may need local illumination. CCOHS recommends enough light for the task while controlling glare and large brightness contrasts. A movable task lamp can support paper work without shining directly onto the display.
Place the monitor and light sources so reflections stay manageable. Then use the screen-glare guide and home-office lighting guide for the room-level details. Color-critical work also depends on the display and workflow, so room lighting is only one part of the system.
Create a Fast Reference and Review Zone
Design work often needs side information: a brief, notes, source material, a phone, or a printed sample. In a home office for a designer, give those items a defined secondary zone. They can stay visible without displacing the active input tools. A document holder or stand can help when a paper reference needs to remain close to screen height.
For a compact room, combine this idea with the small-office zones guide. If the desk itself is tight, protect the primary work area before adding more storage. The limited-space desk guide shows how.
Keep Storage Outside the Active Design Area
Store backup cables, notebooks, camera accessories, packaging, and rarely used tools away from the main reach zone. Keep only the materials that support current work near the keyboard or tablet. This makes task changes faster because each new activity starts from a predictable surface.
The same rule appears in keep only what you use and declutter your home office. The point is not minimalism for its own sake. Preserve enough open space to move tools when the project changes.
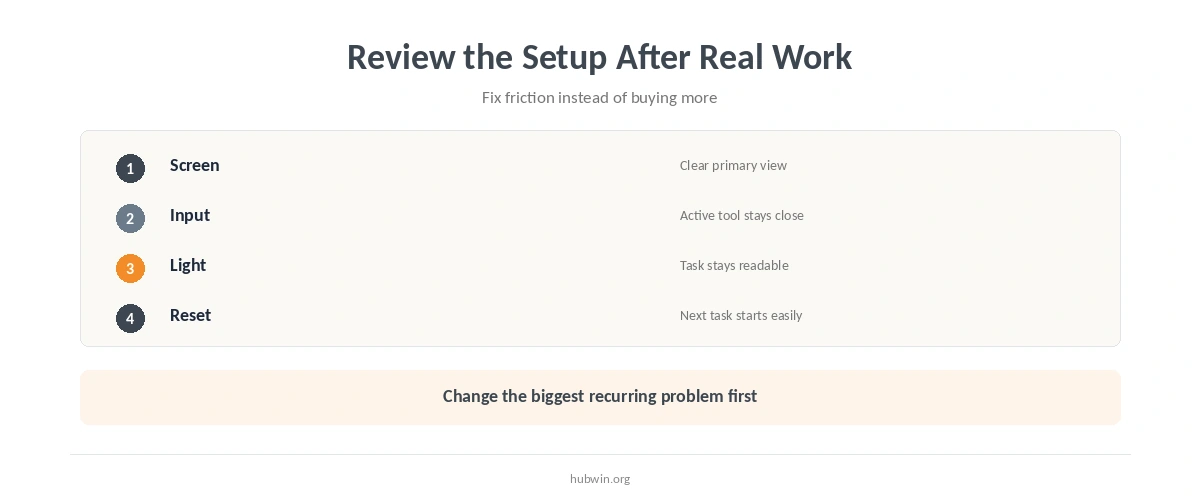
Keep a Home Office for a Designer Flexible
A home office for a designer should handle detailed screen work, sketching, review, or a call without a complete reset. Test the setup for a normal week. Note where equipment blocks the next task, then change the largest source of friction first.
If the room serves several roles, use reversible choices. The flexible home office setup and easy-to-maintain home office explain that approach. A good creative workspace is adjustable enough to match the next project without requiring a shopping list.
How We Research Designer Home Office Setup
HubWin uses workstation guidance rather than product-test claims. CCOHS recommends evaluating task mix, space, lighting, computer type, and accessories such as graphics tablets before selecting furniture. Its monitor guidance also emphasizes tailoring viewing angle and distance to the individual and task.
Sources reviewed October 9, 2026 include CCOHS furniture guidance and CCOHS monitor guidance. We also reviewed CCOHS lighting guidance and OSHA monitor guidance. Read how HubWin researches articles.
Not automatically. The useful size depends on the active tools and whether you need simultaneous space for a screen, input device, paper, or physical samples.
Only if that matches the current task. Arrange the most-used input device in the easiest position and move secondary devices outward.
No. A second display can support references or review, but a single well-positioned display can still support a practical workflow.
Start with the main task path: viewing position, active input device, lighting for that task, and enough open surface to change activities.